Introduction
This documentation covers the integration of Voiceflow with Convocore. Learn how to connect your Voiceflow projects, access analytics, and leverage templates and library components for better performance.Prerequisites
- Voiceflow account and access to your project dashboard.
- Agent ID and Project ID from Voiceflow.
- Access to the Convocore platform.
Connecting the Voiceflow Agent
Step 1: Gather Required Information
- Log in to your Voiceflow account.
- Locate your Agent ID and Project ID from the project dashboard.
Step 2: Configure in Convocore
- Navigate to the Convocore page and choose your agent.
- Enter the Voiceflow Agent ID and Project ID in the agent design section.
- Save the configuration and test the connection.
Troubleshooting Tips - Double-check IDs for typos. - Ensure your Voiceflow project
is published and active.Voiceflow Analytics
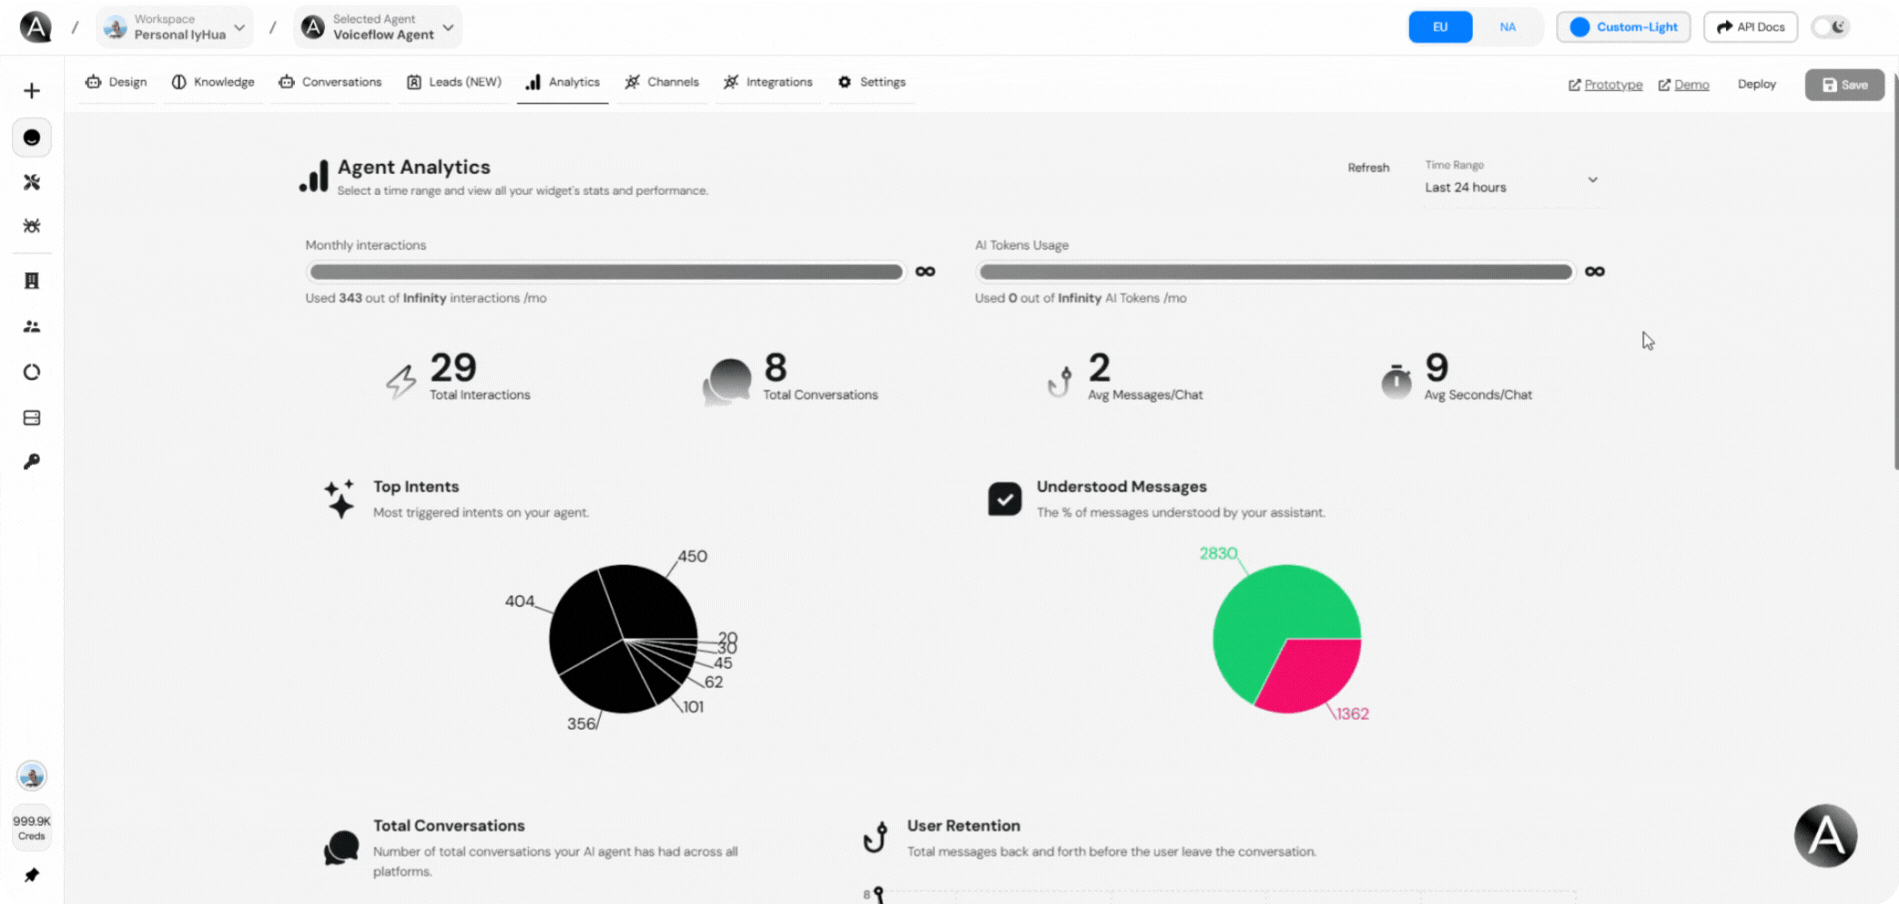
Accessing Analytics
- Go to your Convocore agent dashboard.
- Navigate to the Analytics section.
Key Metrics Explained
- Total Interactions: Total number of interactions your users have had with the agent.
- Total Conversations: Number of total conversations your AI agent has had across all platforms.
- User Retention: Total messages exchanged before the user leaves the conversation.
- Top Intents: Most triggered intents on your agent, showing the most common actions users take.
- Time Retention: Seconds users have spent interacting with the agent.
Voiceflow Template
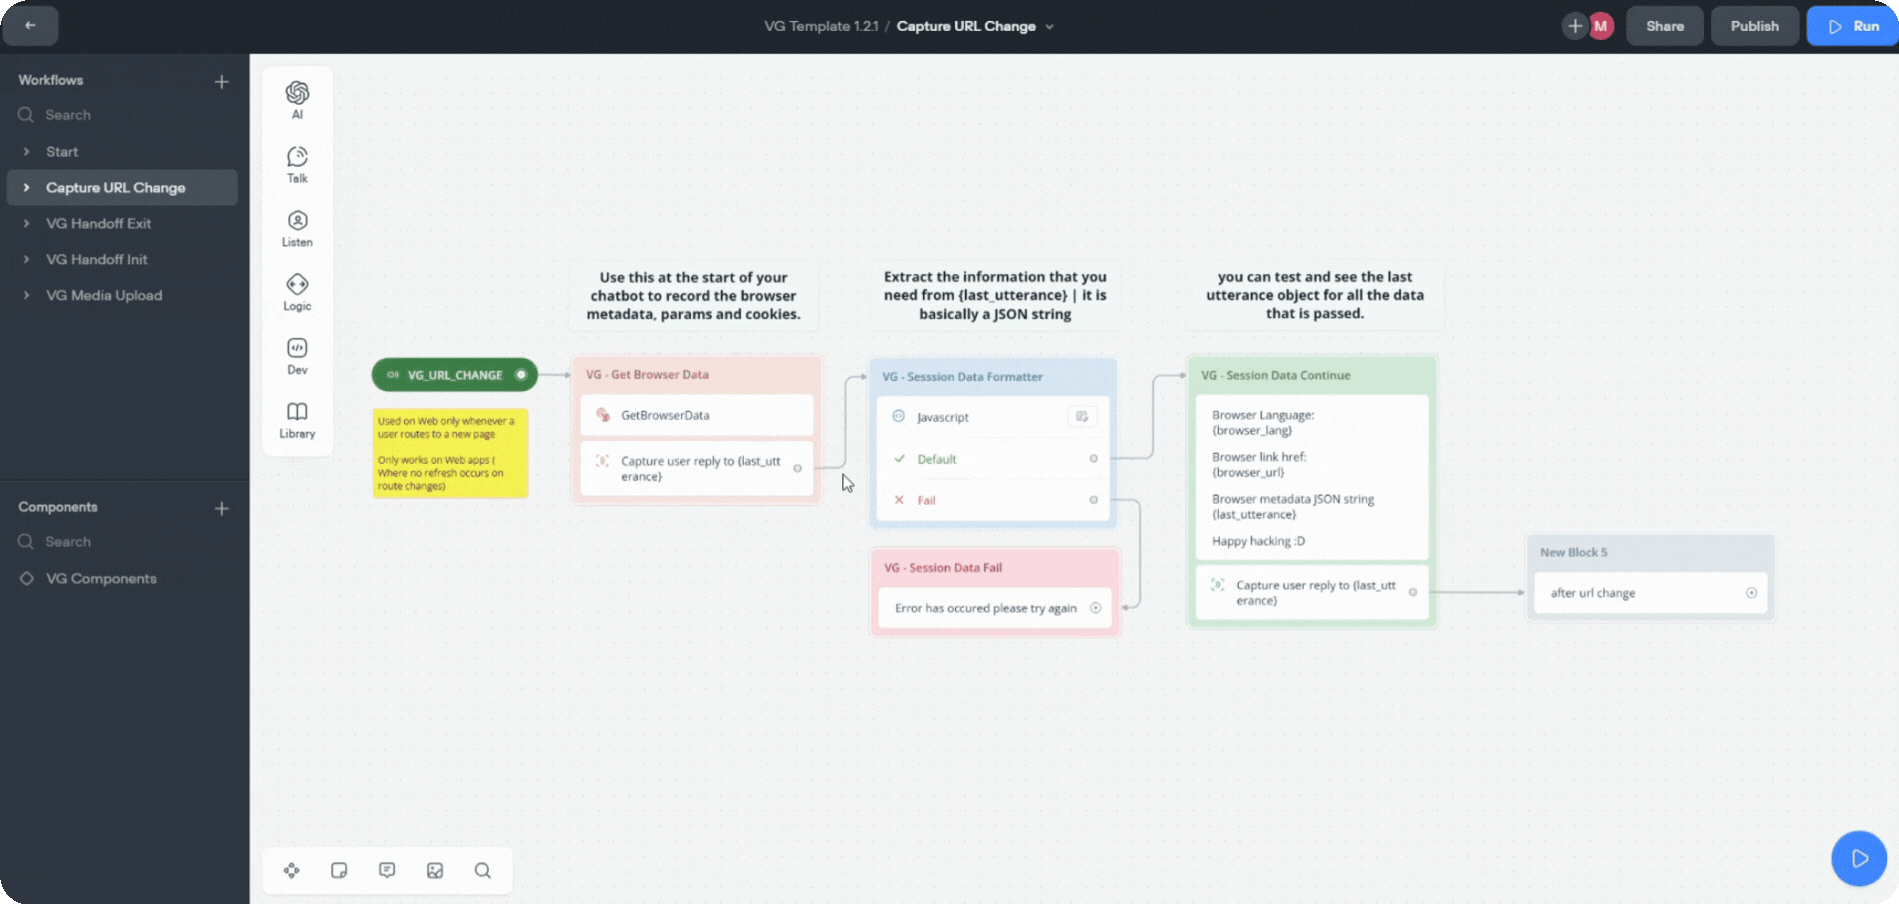
Where to Find the Template
Importing the Template
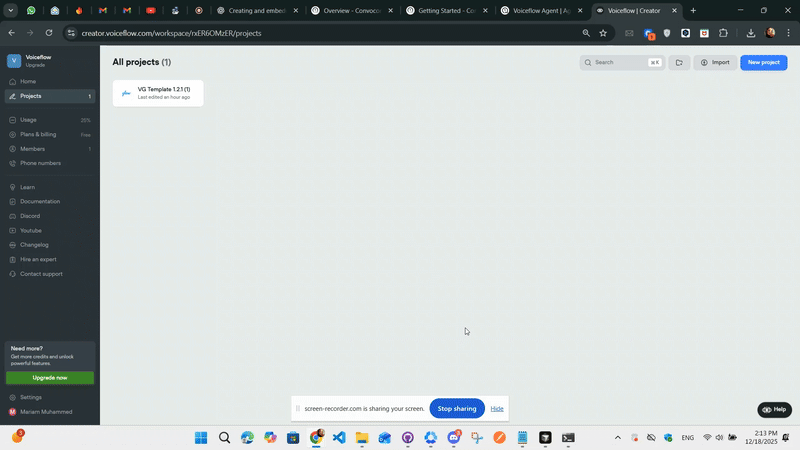
- Download the Voiceflow template file.
- Go to your Voiceflow creator page.
- Import the template using the Import option.
Using Library Components
Overview
Library components in the Voiceflow template are pre-built, reusable tools designed to simplify and enhance your conversational flow creation. They help you save time, ensure consistency, and provide advanced functionality without starting from scratch.Step-by-Step Guide
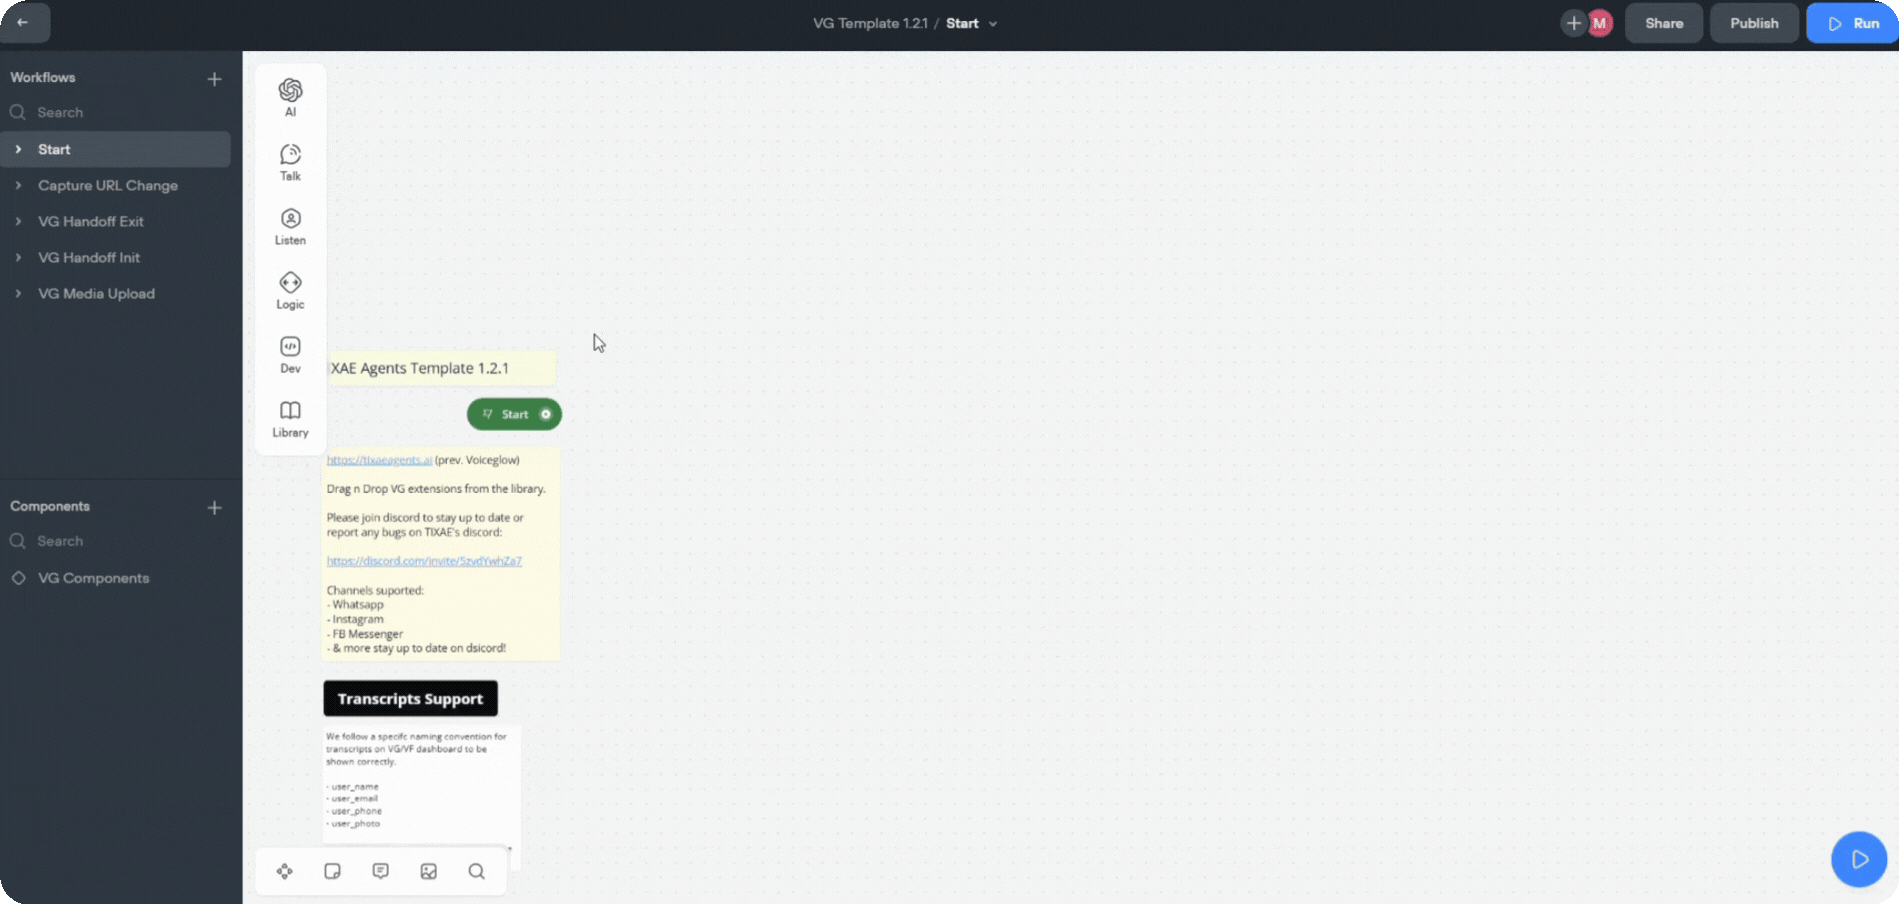
1. Locate Components in the Voiceflow Template
- Open the Voiceflow template in your Voiceflow creator.
- Navigate to the Library section to view the available components.
2. Drag and Drop
- Select the desired component and drag it into your conversation flow.
If you’re not importing the whole template into your flow and just a single component,
make sure to create the variables and intents needed for that component so nothing
breaks.
3. Customize
- Modify the component’s settings to suit your agent’s requirements, such as adding specific intents, API endpoints, or fallback messages.
4. Test Your Flow
- Use Voiceflow’s testing environment to simulate interactions and ensure the components work as expected.