> ## Documentation Index
> Fetch the complete documentation index at: https://docs.convocore.ai/llms.txt
> Use this file to discover all available pages before exploring further.
# Live-handoff
Live handoff is a powerful feature that allows human agents to take over conversations from AI agents when necessary. This functionality bridges the gap between automated and personalized support, ensuring that complex queries or sensitive issues are handled with a human touch.
Live handoff is closely integrated with the client dashboard, where it's operated when a client is logged in and available to manage conversations. Read more in the [whitelabel](/whitelabeling/whitelabeling) docs.
## Setting Up Live Handoff
Before you can use live handoff, ensure that your agent is properly configured:
Navigate to your agent's settings tab.
Enable the handoff functionality by clicking `Enable handoff popup` to allow the agent to display the handoff UI.
You can now access the live handoff from the agents conversation tab or by logging in to your client dashboard.
If you want the agent to always show the handoff at the top of the agents UI. Enable `Fixed handoff popup` for a persistent handoff UI.
You must assign the agent to an **organization** for the fixed handoff popup to work.
## Set up handoff for client
For the handoff to work and to ensure your client has the ability to use it, the agent must be assigned to an [organization](whitelabeling/whitelabeling/client-management/setting-up-organization).
Ensure the organization has a [user](whitelabeling/whitelabeling/client-management/creating-a-user) who can log in to the client dashboard and that their widget is assigned to it.
If you haven't granted your client access to **settings**, they won't be able to enable handoff themselves. Consider this when setting up [client permissions](/whitelabeling/whitelabeling/client-management).
## Using Live Handoff
Once set up, you can manage live handoffs through the Convocore platform or the client dashboard:
From the client dashboard:
When a user requests a live handoff, you'll hear a distinct ringing sound and see a notification in the corner.
Click the notification to open the conversation screen or navigate to the tab on the left side. The live oncversation will be marked with a "!".
On the right side of the conversation UI, click `Handle chat` to begin interacting with the user.
If you're monitoring a live chat either from the dashboard or from your agents conversation tab and want to intervene:
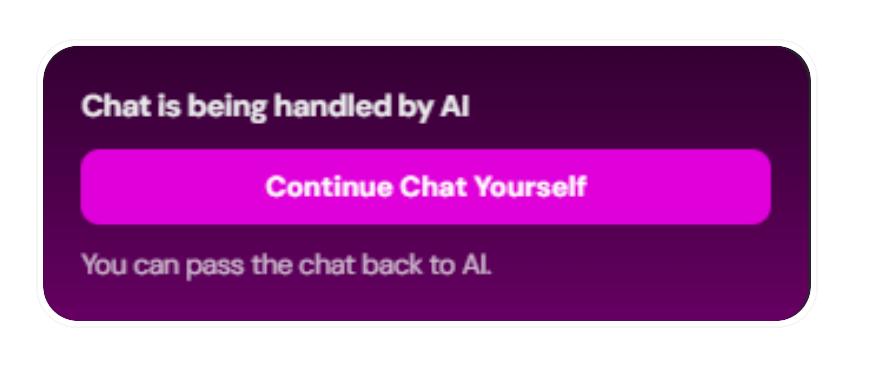
To take over, it has to be an active conversation. These have a `!` beside them and a distinct red writing on them saying `a few seconds ago`.
When you have located an active conversations, Click `Continue chat yourself` to take over from the AI.
 When finished with a live handoff, you might want to pass the conversation back to the AI agent:
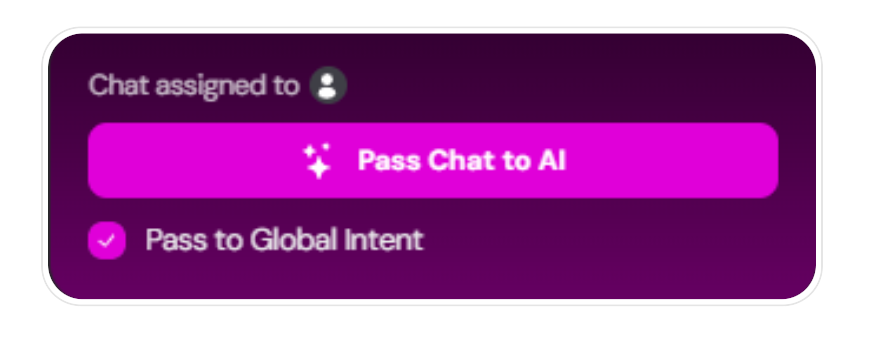
When engaging with a user you can Click the `Pass Chat to AI` button to return control to the AI agent.
When finished with a live handoff, you might want to pass the conversation back to the AI agent:
When engaging with a user you can Click the `Pass Chat to AI` button to return control to the AI agent.
 **Remember** to clearly announce to the user that you are handing the chat back to the AI.
## Handling Unanswered Requests
To ensure no user query goes unanswered, Convocore offers a fallback option for users to submit a query directly in the chat:
If there are no answers from the team, the user will be able click `send email`. Its possible to attach files and the user will be required to provide their email and a message.
When a form submission is received, it appears in the respective conversation thread and triggers a notification in the dashboard. You must manually check the conversation and respond using the provided email address.
## Managing Notifications
Notifications are accessed from the client dashboard and can be sent to your email or as a browser push notification:
To find the notification tab, log in to the client dashboard and click the bell in the top-right corner.
You can adjust notification preferences by clicking the gear in the right corner.
**-- Notify through:** Which channel you want to be notified (email or push notification)
**-- Events to notify:** Which events that should send a notification (all messages or requests only)
For detailed information on managing notifications and other client dashboard features, refer to our [client dashboard documentation](/whitelabeling/whitelabeling/agency/agency-dashboard).
## Best Practices for Live Handoff
To make the most of the live handoff feature:
Aim to respond to handoff requests promptly to maintain user engagement.
Inform users when you're taking over from the AI and when you're handing back control.
Establish clear protocols for who handles handoffs during different shifts or for various types of queries.
Periodically check the conversation tab, even without active handoff requests, to identify potential intervention points.
**Remember** to clearly announce to the user that you are handing the chat back to the AI.
## Handling Unanswered Requests
To ensure no user query goes unanswered, Convocore offers a fallback option for users to submit a query directly in the chat:
If there are no answers from the team, the user will be able click `send email`. Its possible to attach files and the user will be required to provide their email and a message.
When a form submission is received, it appears in the respective conversation thread and triggers a notification in the dashboard. You must manually check the conversation and respond using the provided email address.
## Managing Notifications
Notifications are accessed from the client dashboard and can be sent to your email or as a browser push notification:
To find the notification tab, log in to the client dashboard and click the bell in the top-right corner.
You can adjust notification preferences by clicking the gear in the right corner.
**-- Notify through:** Which channel you want to be notified (email or push notification)
**-- Events to notify:** Which events that should send a notification (all messages or requests only)
For detailed information on managing notifications and other client dashboard features, refer to our [client dashboard documentation](/whitelabeling/whitelabeling/agency/agency-dashboard).
## Best Practices for Live Handoff
To make the most of the live handoff feature:
Aim to respond to handoff requests promptly to maintain user engagement.
Inform users when you're taking over from the AI and when you're handing back control.
Establish clear protocols for who handles handoffs during different shifts or for various types of queries.
Periodically check the conversation tab, even without active handoff requests, to identify potential intervention points.